STUDY OVERVIEW
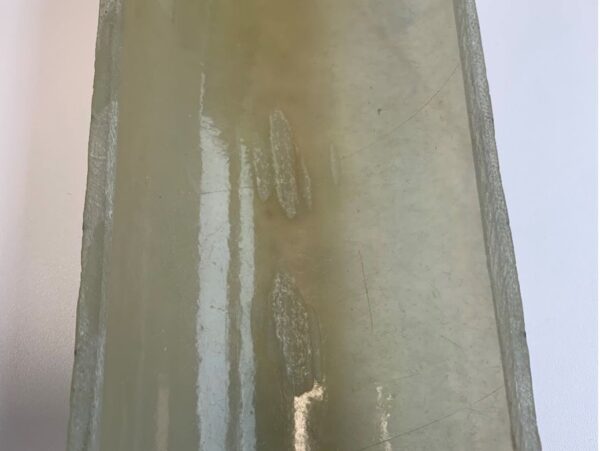
Glass Reinforced Plastic (GRP) piping is increasingly common for a variety of low-temperature petrochemical applications as it provides a low-cost, corrosion-resistant alternative to steel. Despite this success, such pipes are still susceptible to damage and failure through a variety of mechanisms including erosion, delamination, impact damage and blistering. Periodic Non-Destructive Testing (NDT) therefore remains key in assuring continued integrity of GRP assets. To this end, dolphitech assessed a range of GRP pipe sections with diameters from 4” to 16” and thicknesses from 6mm to 19mm. These contained thickness changes to assess the back wall echo response and gouged inner surfaces to represent localized corrosion or erosion.
THE SOLUTION
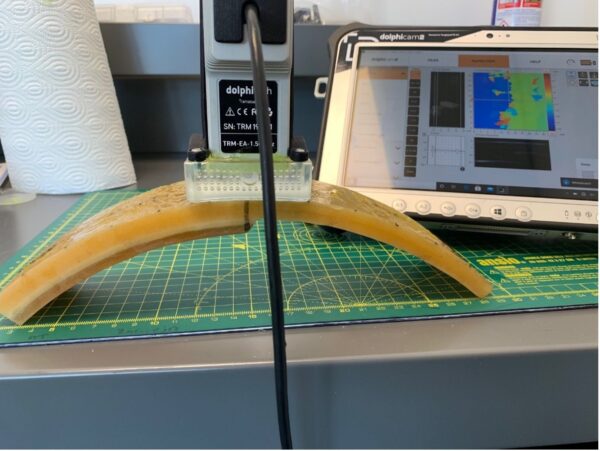
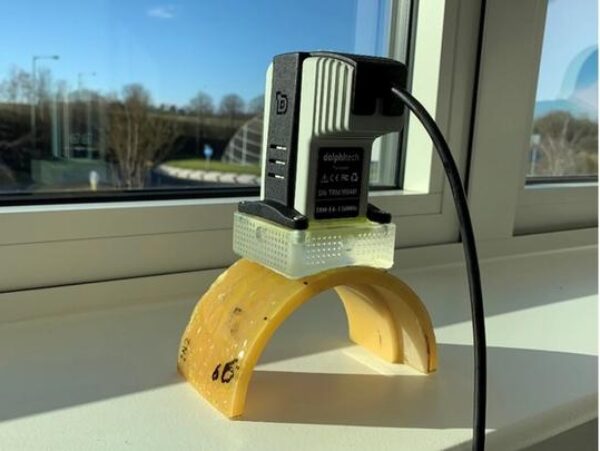
A TRM-EA-1.5MHz was used to inspect the pipe sections, with this low frequency providing confidence in the ability to penetrate through the thickness of all the pipe sections. This TRM has no delay line, instead a range of replaceable delay lines or curved pipe shoes can be mounted to the TRM. In this study 100-500mm diameter pipe shoes were used to match the different pipe sections. This ensured sufficient coupling was achieved for each inspection, which in turn enabled the sound to be correctly transmitted into the part.
CHALLENGES
GRP piping is known to be challenging for ultrasonic testing, as the different material phases present act to scatter, absorb and deviate the sound beams. This problem, common to all composites, is generally worse in glass fiber compared to carbon due to the its higher density, larger fiber diameters and typically higher porosity contents. Low frequency probes are therefore required to adequately penetrate through the material, however this reduces the sensitivity of the inspection.
FINDINGS
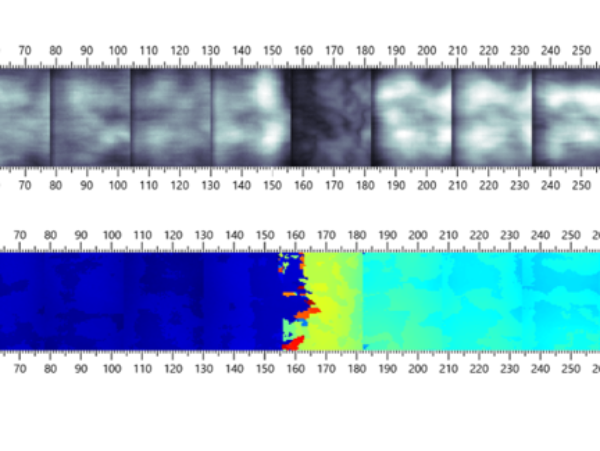
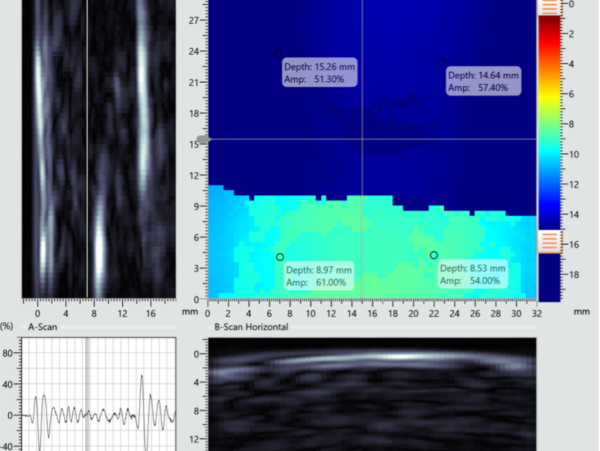
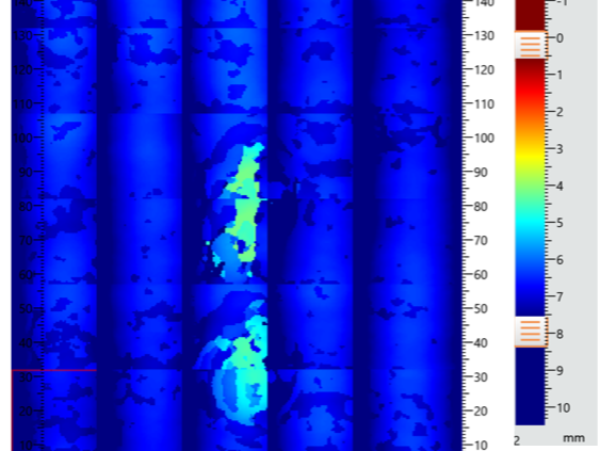
All the GRP pipe sections were successfully inspected, with reliable back wall echoes observed to the maximum thickness of 19mm. The thickness changes were quantified and could be readily observed on the stitched Time-of-Flight C-scan images. The inner surface gouging was also well-resolved on the C-scan images, with the shape of the damage and the wall thickness loss easily quantified in all instances.
CONCLUSION
A TRM-EA-1.5MHz is well-suited to a variety of GRP pipe inspections. Although capable of penetrating up to 60mm, good results were achieved at thicknesses down to 6mm in this study. This illustrates the wide range of GRP thicknesses and diameters that can be inspected using this versatile set up.
REQUEST A QUOTE OR SUBMIT AN ENQUIRY
Need help with product information?
Get in touch with our experts for information or a quotation.
