STUDY OVERVIEW
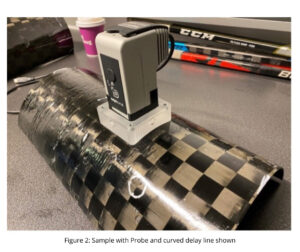
A leading composite materials manufacturer provided dolphitech with Carbon Fibre Reinforced Polymer (CFRP) pipe sections for evaluation with the dolphicam2. The sample chosen for initial inspection was a half-pipe section with a circular marking denoting a flaw location. The pipe section was 2-4mm thick and 200mm in diameter.
SOLUTION
For this inspection, a TRM-CH-5MHz was used with a detachable 200mm diameter curved delay line. This ensured optimum coupling between the TRM and the pipe section over the whole transducer area. The 5MHz frequency was able to easily penetrate the thickness of the pipe section, while still achieving high resolution of any indications observed. A manual stitching technique was used to cover the 60×110 mm region of interest over the pipe surface.
CHALLENGES
Composite pipes are known to be difficult for ultrasonic inspection as the different constituent materials act to absorb, scatter and deviate ultrasound beams. Low frequencies are usually required to penetrate them, however the matrix array technology employed by the dolphicam2 enables the use of higher frequencies. This in turn means that superior resolution can be maintained in all three planes. This inspection was challenging due to the variation in pipe thickness over its surface, which required careful gating of the ultrasonic displays.
FINDINGS
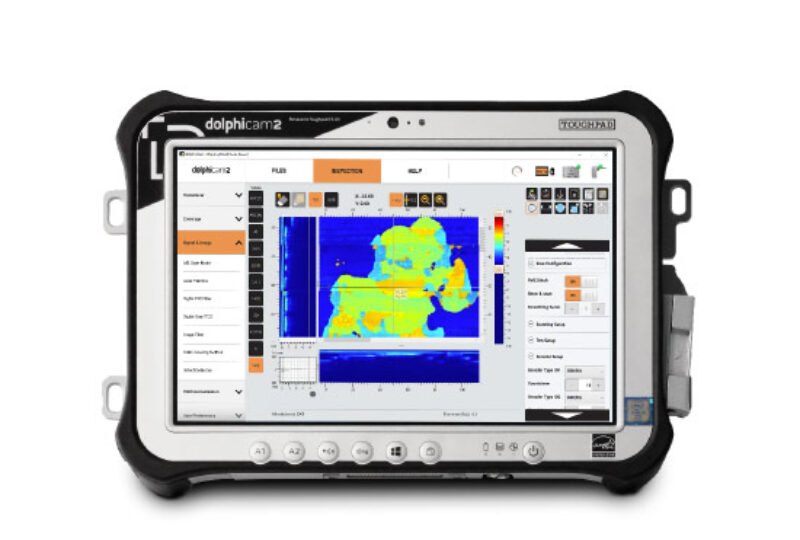
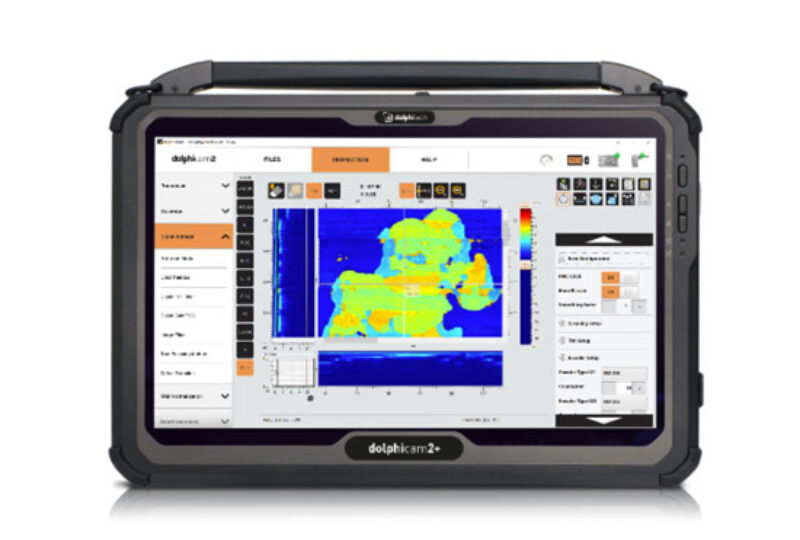
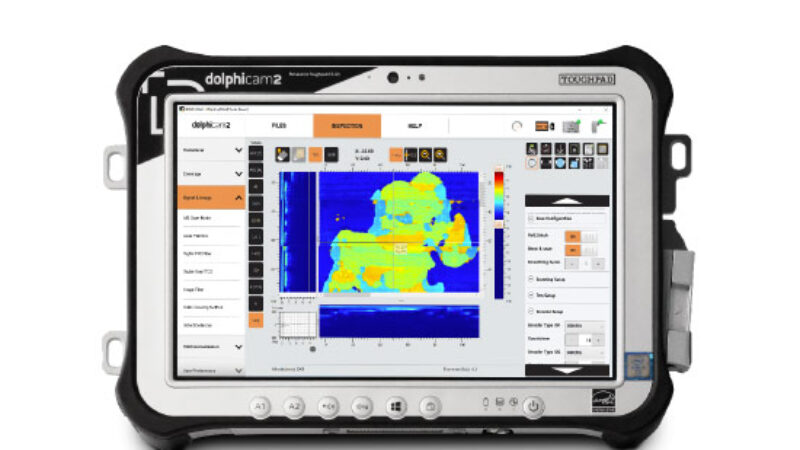
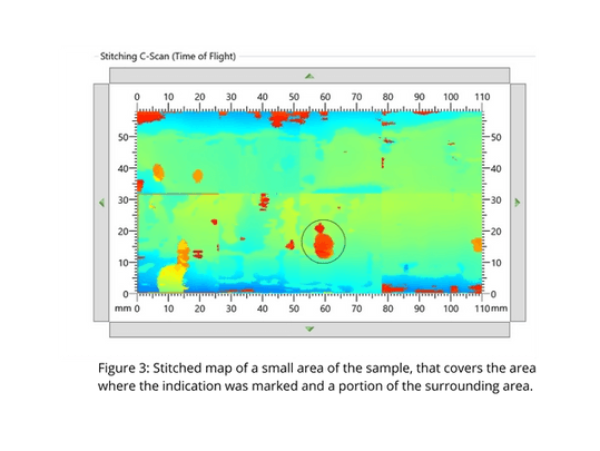
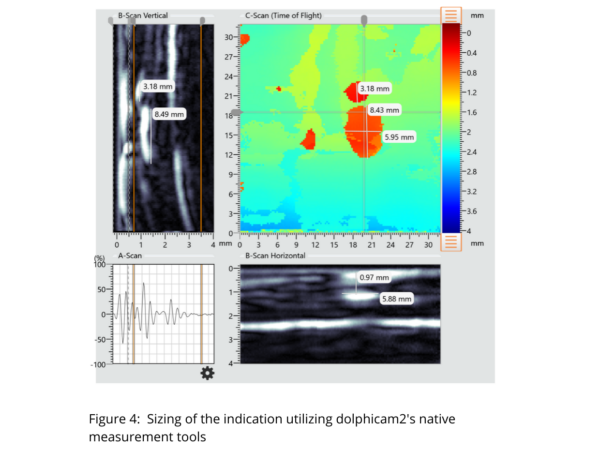
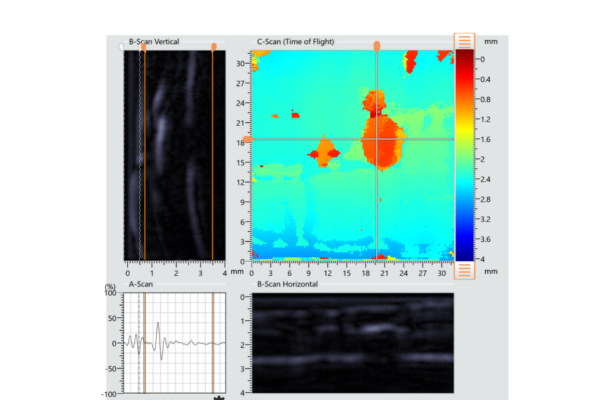
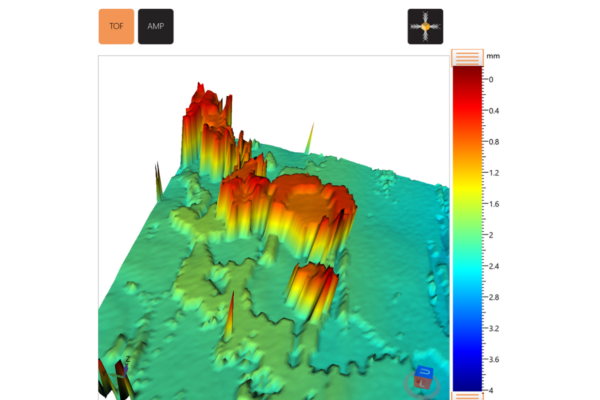
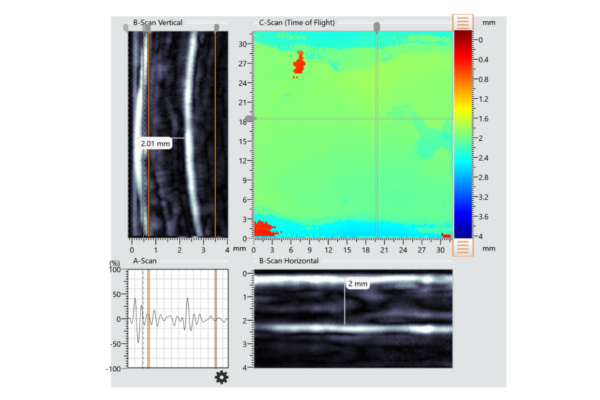
The indication denoted by the circular marking was clearly resolved as shown by the stitched C-scan and single image captures. The stitched C-scan provides a useful overview of the whole condition of the pipe section including thickness measurements, while the single capture image is useful for taking detailed quantitative measurements. The indication can be clearly identified in all displays of the dolphicam2 software (A-scan, B-scans, C-scans and 3D view). Its planar dimensions and depth location can be readily resolved and measured. This is particularly useful for compound defects (shown above in figure 3), where different aspects of the defect extend at different through-thickness locations. The line measurement tool on the B-scan display is useful not just for flaw measurements, but can also be used for wall thickness measurement.
CONCLUSION
The dolphicam2 with a TRM-CH-5MHz and a 200mm curved pipe shoe was able to inspect the pipe section provided. Using a manual stitching technique, an overall appraisal of the condition of the pipe section was obtained, with precise location of any defects. Then by acquiring a single image capture at the location of a defect observed, a large amount of quantitative information was gained for complete characterization.
REQUEST A QUOTE OR SUBMIT AN ENQUIRY
Need help with product information?
Get in touch with our experts for information or a quotation.

