EXECUTIVE SUMMARY
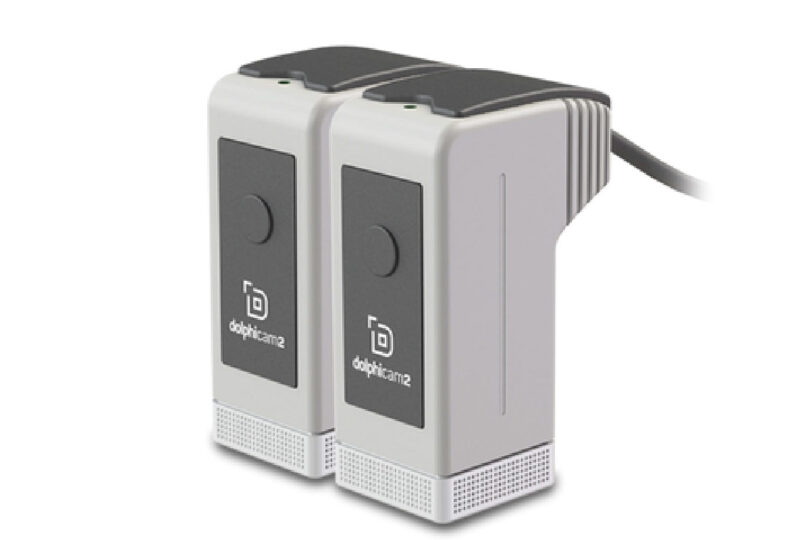
Aomposite core structures and adhesive bondlines can be difficult to inspect due to the inherent loss of ultrasound through these multi-layer materials. To address this challenge, dolphitech has launched its new MxTTU™ system. The system uses through-transmission ultrasound for superior penetration through attenuative materials.
To help demonstrate the capabilities of the MxTTU™ system, we inspected for artificial embedded flaws in:
- a core structure where Nomex honeycomb is sandwiched between carbon fibre skins, and
- a bondline formed by applying an epoxy adhesive between monolithic carbon fibre laminates.
All embedded flaws were clearly detected with the dolphicam2 MxTTU™ via loss of transmitted sound and clearly identifiable in our software as dark regions in the amplitude C-scans. These results, together with the experimental methodology and other relevant details, are formalised in the following capability study.
STUDY OVERVIEW
Honeycomb sandwich structures have found widespread use in the aerospace sector, where they can provide high strength and rigidity whilst being lightweight. However, the hollow structure of the honeycomb core itself is highly attenuative to sound, which can be an issue for pulse-echo (PE) ultrasonic testing. This is because, for a comprehensive inspection, the sound has to travel through the core to the opposite surface and back to the receiver with sufficient measurable energy. In a similar vein, there can be difficulties inspecting bondlines, as incident ultrasound is reflected at bonded interfaces, thus reducing the transmitted energy.
In such scenarios, the use of through-transmission ultrasound (TTU) can be highly advantageous, and as such, dolphitech has developed a new TTU system called Matrix Through Transmission Ultrasound (MxTTU™).
To benchmark the capabilities of the MxTTU™, a sample was manufactured for dolphitech by Flying S Inc., containing various artificial reflectors representative of disbonds. The sample is shown in Figure 1. It comprises two main areas, a honeycomb core sandwich region and an L-flange with an adhesive bondline region.
Figure 1. a) Photograph of the sample with b) technical drawings from an isometric view, c) the top (bag side) and d) the side in inches. e), f) Detailed views.
Honeycomb core region
The core region comprises an aerospace-grade Nomex honeycomb (AHN4120) core ~0.98″ thick, covered by plain weave, 193g/m2 carbon fibre faces (MTM45-1 CF0526A-36%RW). On one side, the core is sandwiched by faces that are 3 plies thick (3 plies/core/3 plies) and on the other, they are sandwiched by faces that are 6 plies thick (6 plies/core/6 plies). The thicknesses of the 3 ply and 6 ply faces are ~0.05″ and ~0.07″ respectively, and as such, the total thickness of the panel is ~1.07″ and ~1.12″ on each respective side. This thickness change in the middle of the panel can be seen from the top (bag side) and is visible in Figure 1a.
Using green flashbreaker tape, six circular reflectors were embedded between the face and the honeycomb core (zones A and B in Figure 1). Three of these reflectors, measuring 0.25″, 0.5″ and 1″ in diameter, were placed on the bag side skin-to-core interface, while three more reflectors of the same diameters were placed on the tool side skin-to-core interface. These flaws are representative of disbonds between the skin and core. They adversely affect the mechanical performance of the panel. Such a disbond in service would greatly reduce part stiffness and could propagate rapidly.
Bondline region
Across the width of the specimen, the core thickness tapers to a point where the two CFRP skins join to form a monolithic section of ~0.07″ thickness on one side and ~0.12″ on the other. Adhesively bonded (Henkel Loctite EA 9396) to this monolithic CFRP is a carbon fibre L-flange (MTM45-1 CF0526A-36%RW) of 0.09″ thickness. The adhesive layer is nominally 0.075″ on one side and 0.027″ on the other to keep the bonded joint the same thickness throughout. As such the total thickness of this bonded joint is ~0.23″.
Six circular reflectors of the same material and diameters as those in the honeycomb core region were embedded along this bondline; three reflectors are placed on the L-flange-to-adhesive interface and three on the adhesive-to-main structure interface (zones C and D in Figure 1). There are also reflectors embedded mid-laminate on the radius of the L-flange (zone E in Figure 1). These will be treated in a separate capability study as they are better suited to pulse-echo inspection.
SOLUTION
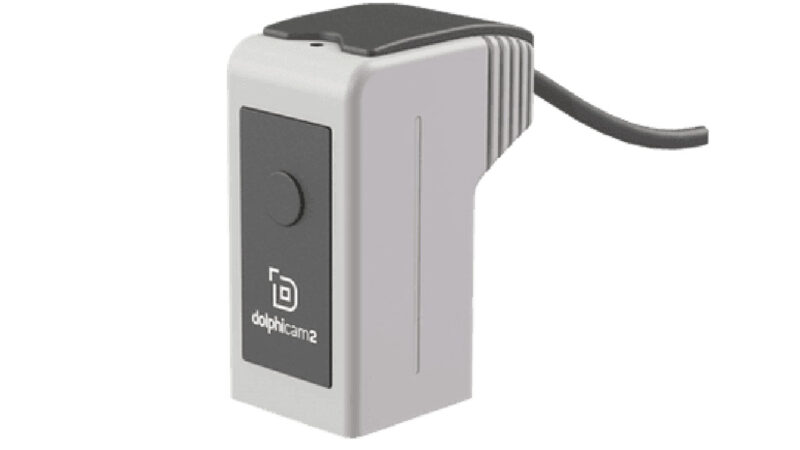
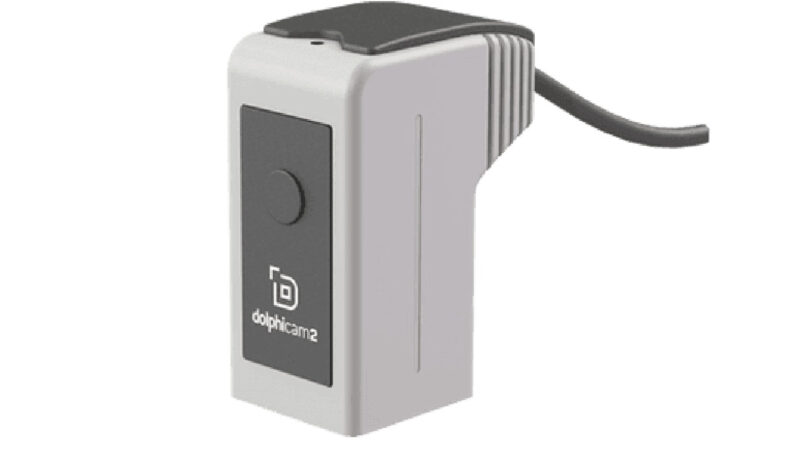
The sample was inspected using a dolphicam2+. A pair of TRM-EA-1.5MHz transducer modules (TRMs) were used to inspect the honeycomb core region, and a pair of TRM-AF-3.5MHz TRMs were used for the bondline region.
The TRM-EA-1.5MHz is our low-frequency transducer designed to penetrate thick materials and structures while the TRM-AF-3.5MHz is an excellent choice for more general CFRP applications. The TRM-AF-3.5MHz has a frequency that is low enough to travel through CFRP but still high enough to get a great resolution on inspection.
Aside from the different frequencies, the main difference between the TRMs is the delay line material. The TRM-EA-1.5MHz works in direct contact with the part, whereas the TRM-AF-3.5MHz features an 8mm Aqualene delay line. MxTTU works well with both and can be used with any pairs of existing dolphicam2 TRMs.
A standard ultrasonic gel was used as the couplant.
The defect locations were identified using freehand scanning, then manually-stitched C-scans were acquired along 0.98″ wide strips that traversed over the defect locations as depicted in Figure 2b. This corresponded to one strip of image tiles along the length of the panel for each region. The transmitting TRM is placed on the textured surface (bag side) and the receiving TRM on the opposite smoother surface (tool side).

Figure 2. a) Photograph of dolphicam2+ with a pair of TRM-EA-1.5MHz transducer modules operating in TTU mode. The transmitting (Tx) and receiving (Rx) TRMs are labelled. b) Photograph from the top of the sample (bag side) with an overlay of the routes for the manually-stitched C-scans. The routes are depicted by arrows, and they are labelled with the transducers used on each route. The labels are orientated according to the orientation of the C-scan (ie TRM-EA-1.5MHz data is flipped relative to the TRM-AF-3.5MHz data).
CHALLENGES
The lightweight properties of the honeycomb sandwich arise from its very low density. This low density presents a challenge as air is highly attenuative to sound. In a similar vein, there can be difficulties inspecting bondlines, where sound energy can be lost between interfaces.
This is made further challenging by the rough texture of one of the surfaces (bag side), which makes it more difficult to maintain contact with the sample.
FINDINGS
Both the honeycomb core and bondline regions were successfully inspected with the dolphicam2+. The manually stitched C-scans of the honeycomb sandwich and bondline regions are presented in Figures 3 and 4. The extent of the scan is such that the TRMs are only partially on the sample at each end of the stitched map.

Figure 3. Manually stitched C-scan of defects in honeycomb structure taken with TRM-EA-1.5MHz transducer module. There was difficulty maintaining contact over the thickness transition, hence the loss of signal amplitude at this location.

Figure 4. Manually stitched C-scan of bondline taken with TRM-AF-3.5MHz transducer module
The defects are readily resolved as dark circles in the C-scans, due to the loss of transmitted ultrasound at these reflective locations. On these C-scans, measurements of the defects were taken using the line measurement tool as displayed, and their values are shown alongside their nominal measurements for comparison in Table 1. In this table, the measured defects diameters are grouped by the zone they are in (the zones were established in Figure 1).
Table 1. Comparison of nominal and measured defect diameters, where the defects are grouped into columns by their zone. The displayed precision of the measured values is reflective of full precision from the measurement tool rather than actual precision, as only approximate measurements were taken.
From Table 1, all the measured defect diameters are shown to be close to their nominal values. Specifically, all were measured as being within 11.8% of their nominal value with a mean absolute difference of 4.3%.
Additionally, the thickness transition can be observed as a change in the shade of the background, where the higher signal amplitude region corresponds to the region with the thicker skins. This is on the left half of the scan in Figure 3 and on the right half of the scan in Figure 4.
CONCLUSION
The 12 embedded reflectors were successfully detected using a dolphicam2+ with MxTTU™. The system allows the inspection of highly attenuative samples as the honeycomb sandwiches and bondlines, as shown here. As such, the use of the MxTTU™ system may be used in the quality control of sandwich structures and the detection of bondline defects, providing utility for diverse aerospace inspection tasks. Additionally, it facilitates follow-up defect characterisation and sentencing, where subsequent through-thickness measurement of defects can be performed by toggling from TTU to pulse-echo mode, a process that is quick and user friendly with the MxTTU™ system.
AEROSPACE MARKET
Safety is paramount in aviation. Fast extensive inspection is possible using the dolphicam2 ultrasonic technology.
Read moreSPACE TECH MARKET
Our equipment has, and is, supporting some of the most exciting space projects seen this century, and dolphicam2 is helping assure the integrity, viability and investment of some of the world’s most complex, and expensive commercial projects.
Read moreREQUEST A QUOTE OR SUBMIT AN ENQUIRY
Need help with product information?
Get in touch with our experts for information or a quotation.

