STUDY OVERVIEW
Dolphitech were approached by an airline operator with the challenge of inspecting the wing skin of an Airbus A220 commercial aircraft. The purpose of the test was to not only resolve the indication, but also be able to share the data in real-time from the outstations to the maintenance and engineering centre in the main operation bases for evaluation.
THE SOLUTION
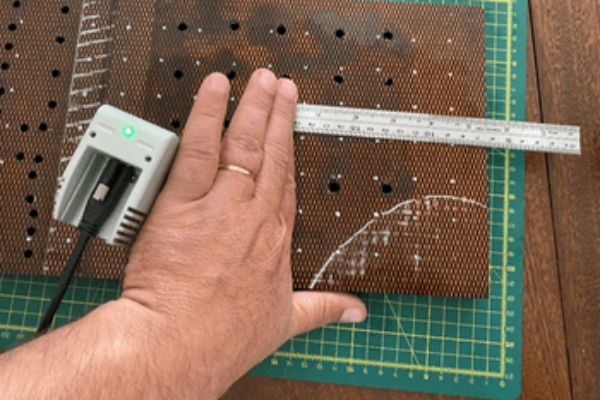
The part was inspected using the dolphicam2 system with a TRM-BH-2.5MHz (12 mm aqualene 320 soft coupling) and a manual stitched map of the area was created. Setup on the part took less than 3 minutes and the data acquisition for the stitched map a further 5 minutes.
Results were encouraging and very positive, as we were able to penetrate the sample with ultrasonic and able to see through the entire part. There were negligible effects from the copper wire mesh on the surface of the part and the dolphicam2 clearly detected the area where the induced defect was.
CHALLENGES
The application was made challenging by the existence of a copper wire mesh embedded to the surface of the wing skin, which acts as a lightning protection system. This copper mesh interferes with the ultrasonic energy travelling into the part, making setup difficult.
In a live situation, the lack of dedicated NDT personnel on site poses a risk of serious delays and disruption of the flight schedule when an event calls for an inspection.
FINDINGS
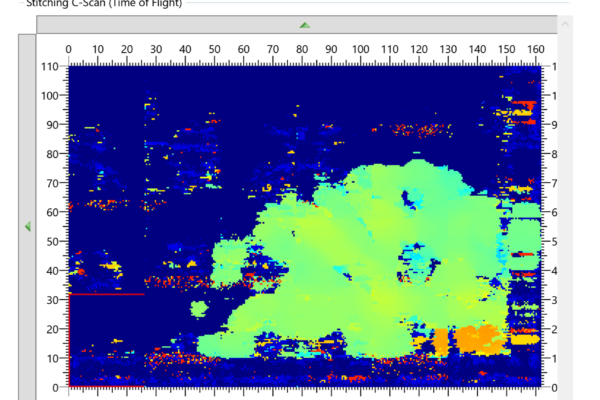
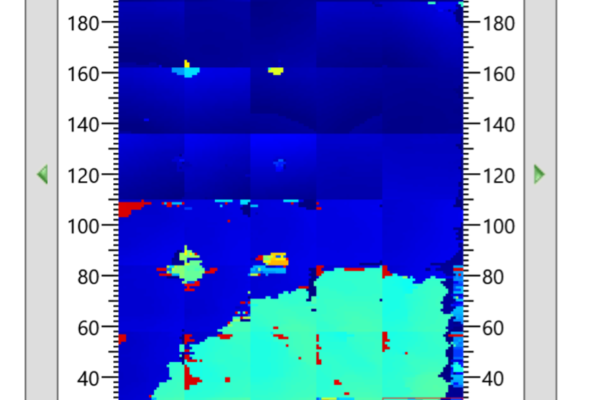
The area mapped showed a good image, where there were no indications before the back wall echo, as well as a large delamination area (shown on the stitched map below).


CONCLUSION
The dolphicam2 was able to fully penetrate the material, identifying the area with the indication, even through the copper mesh.
Skin to stiffener interface was also detected with a simple and quick setup on site.
The performance leads to state that planar indications, such as delaminations or a lack of adhesive would have a high probability of detection. This makes it simple to screen blades both in service and fabrication phases.
The colour C-scan enabled clear visual cues and the stitched maps enabled a large area to be screened to help ascertain the size of defects.
REQUEST A QUOTE OR SUBMIT AN ENQUIRY
Need help with product information?
Get in touch with our experts for information or a quotation.
